
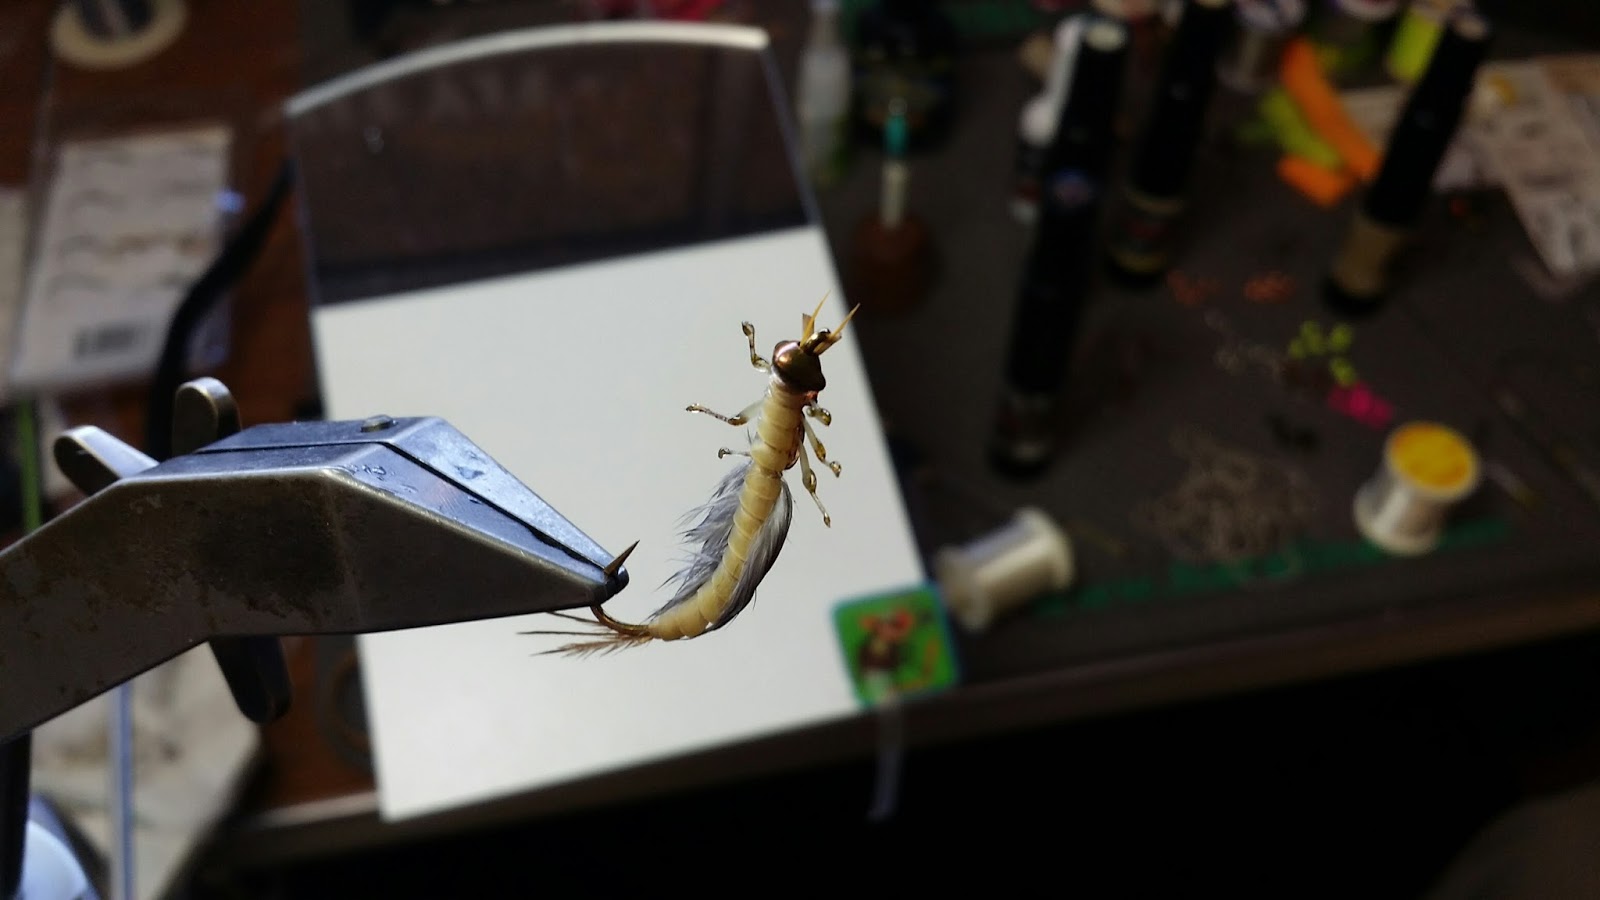
Burrowing Mayfly Nymph Pattern- Daiichi 1870, Flymen Evolution Tungsten Beads, Virtual Nymph Skin, Deer Creek UV Flex Resin
Posted by Dave Hise on 1st Jan 1970
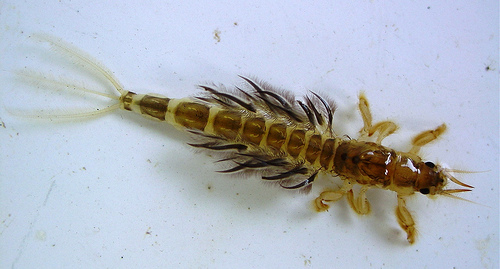 |
| Natural Burrowing Mayfly Nymph |
 |
| Daiichi 1870 Larva Hook |
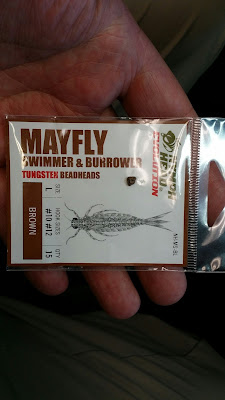 |
| Flymen Nymph Head Evolution Beads (Swimmer/Burrower) Size Large |
 |
| Thread the Evolution Bead onto the hook |
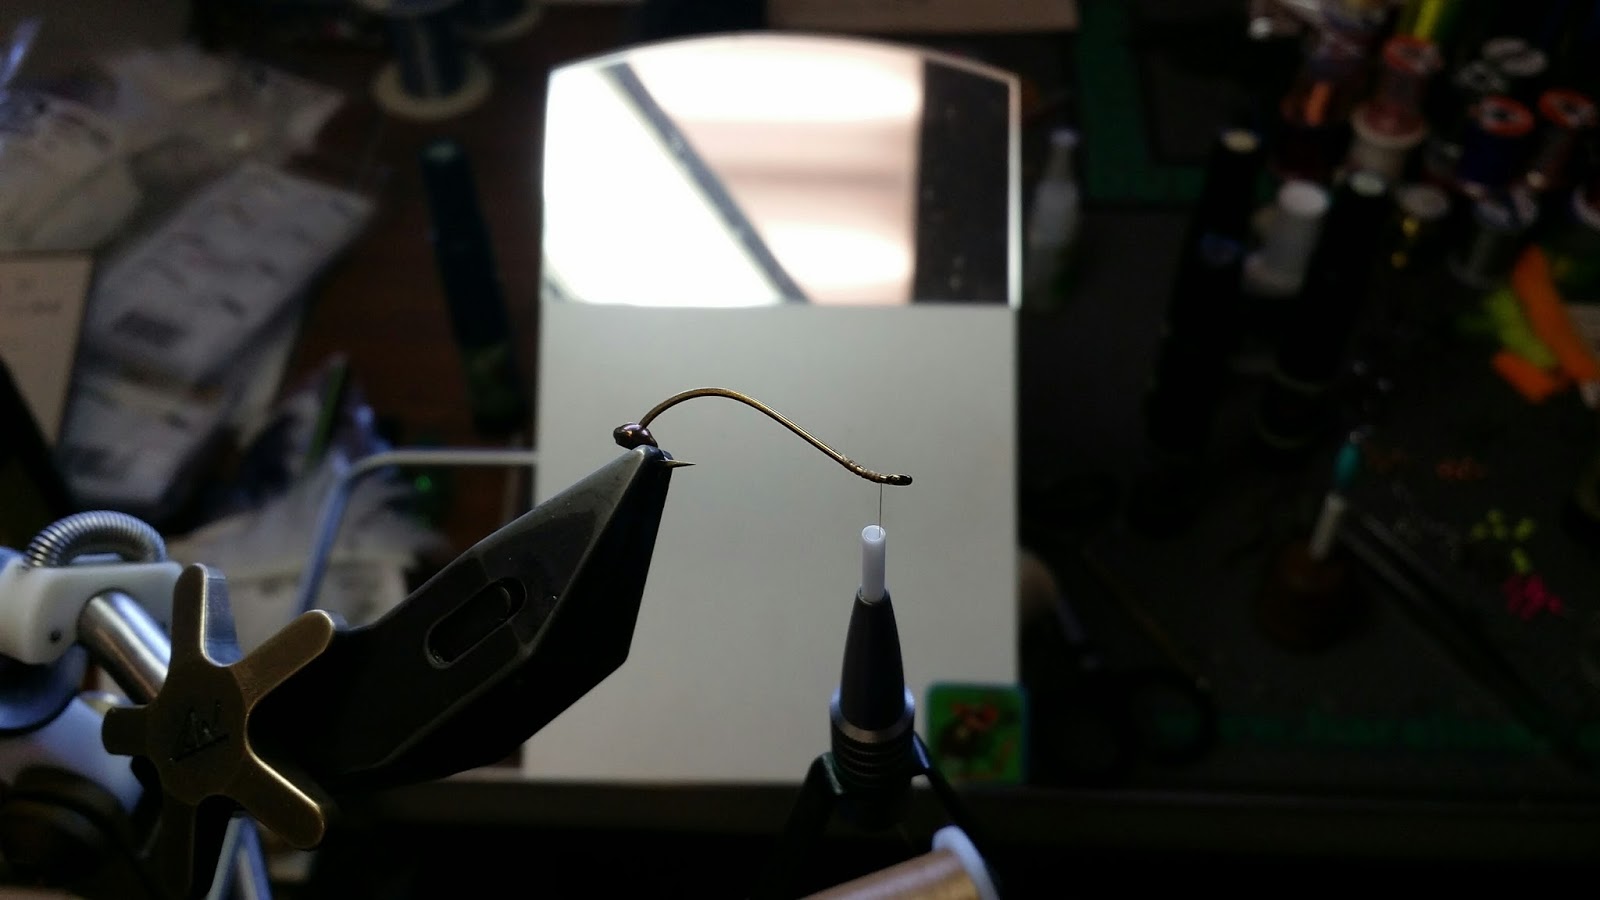 |
| Apply a thread base behind the hook eye |
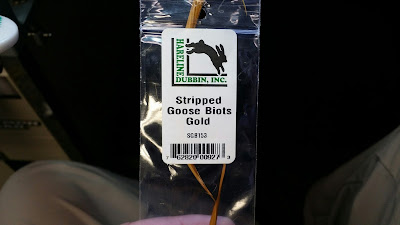 |
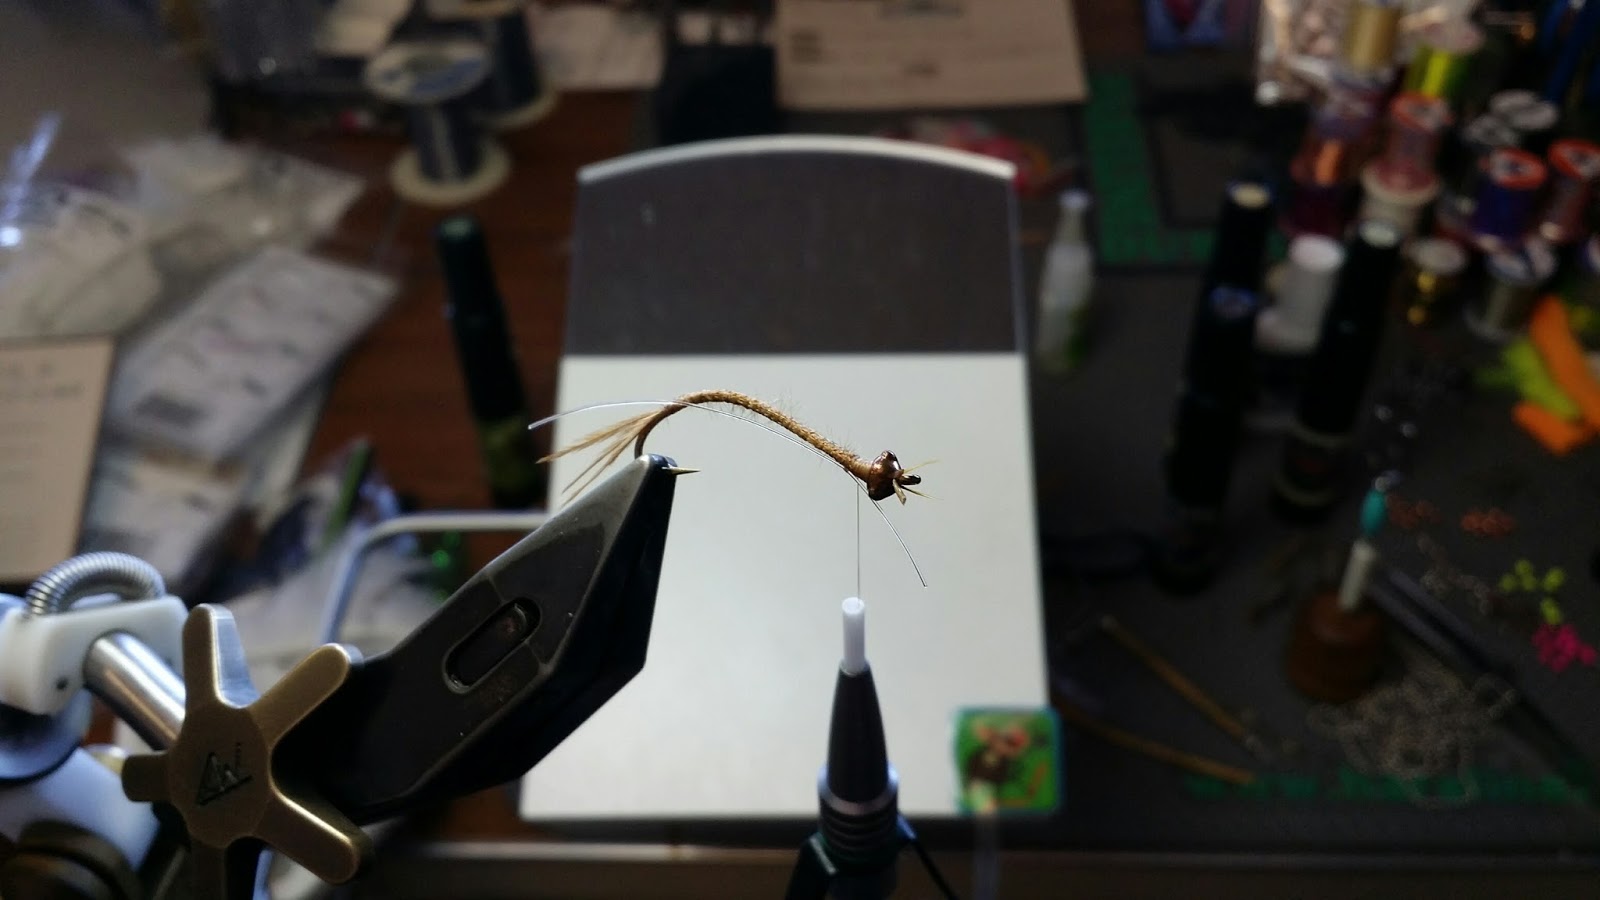
| Select 2 Goose Biots for the antennae |
 |
| Secure a biot on the top and bottom of the hook eye |
 |
| Select some Rubber Legs which will create the tusks |
 |
| Secure 2 tusks in place in between the antennae |
 |
| Slide the Evolution Bead to the hook eye and hold in place with a tapered thread ball |
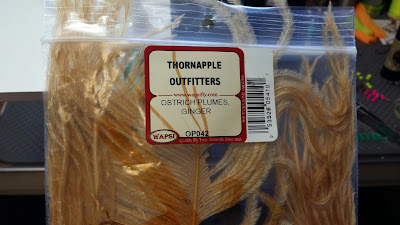 |
| Select 3 Ostrich Plumes which will be used for the tails |
 |
| Secure the Ostrich Plumes in place on your side of the hook |
 |
| Add a section of mono (.010) on the top and bottom of the shank |
 |
| This step creates a flatter profile to the abdomen |
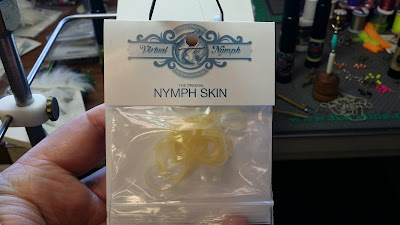 |
| Grab a pack of translucent cream Virtual Nymph Nymph Skin |
 |
| Cut one end at an angle for easier tie in |
 |
| Secure the Nymph Skin in place at the rear of the hook (angled side facing up) |
 |
| Grab the Mono Thread and secure a 10" strand at the rear of the hook |
 |
| Advance the first bobbin forward and add another bobbin loaded with Mono Thread at the 1/3 point |
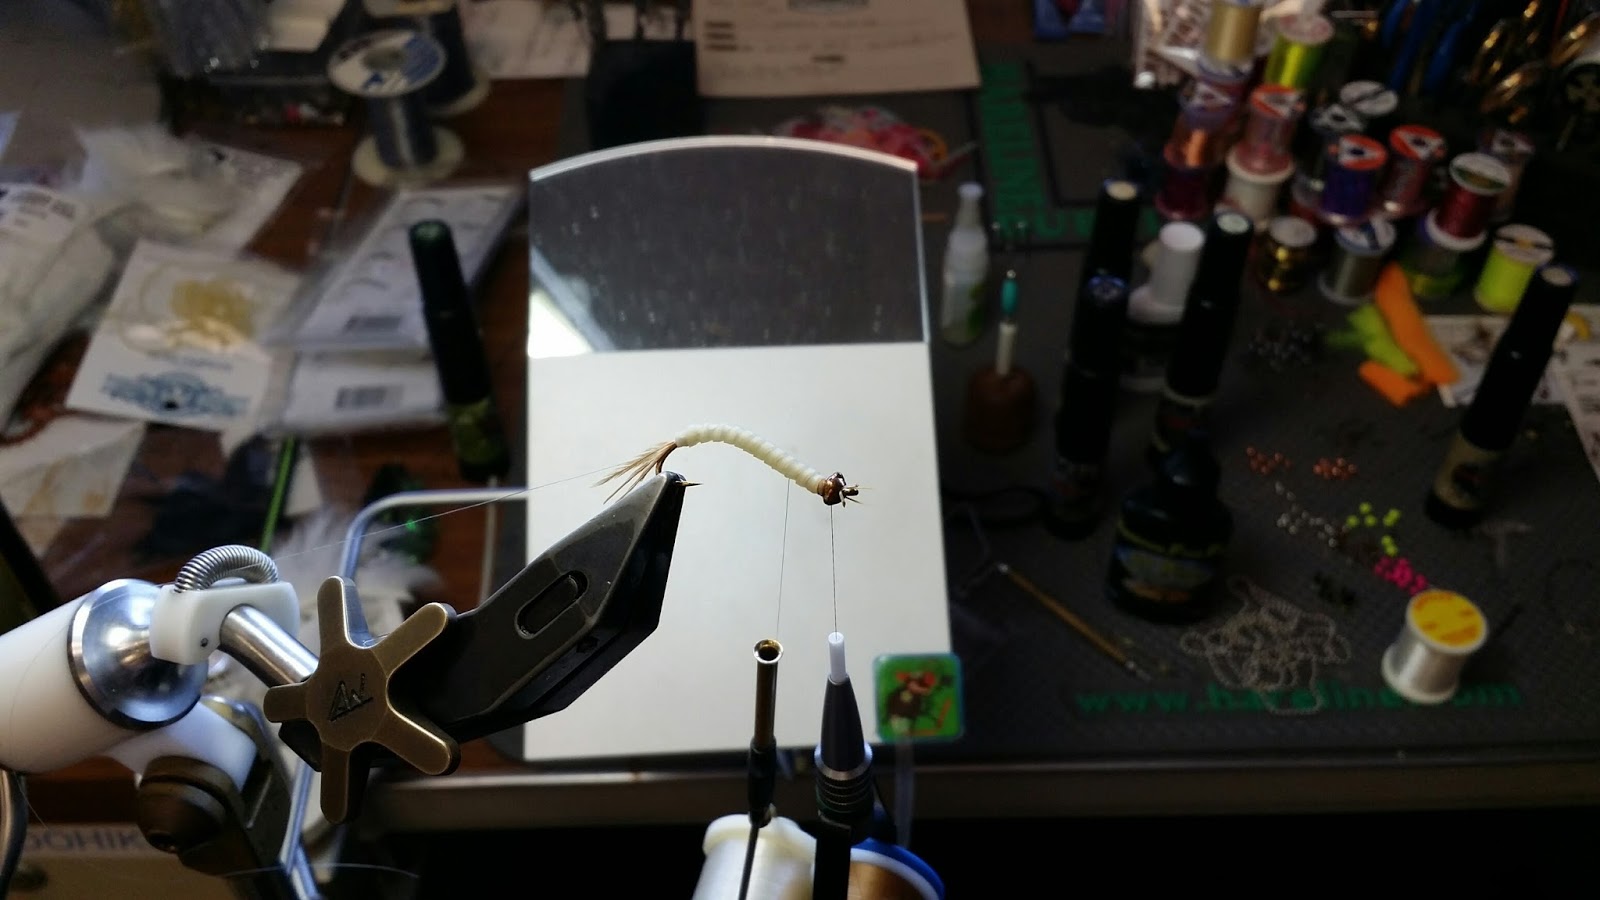 |
| Wind the Nymph Skin forward and secure in place behind the bead |
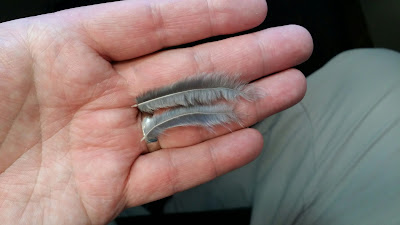 |
| Select 2 Pheasant Aftershaft (secondary) Feathers for the gills |
 |
| Strip the barbs from one side of the feather (this is the top gill section) |
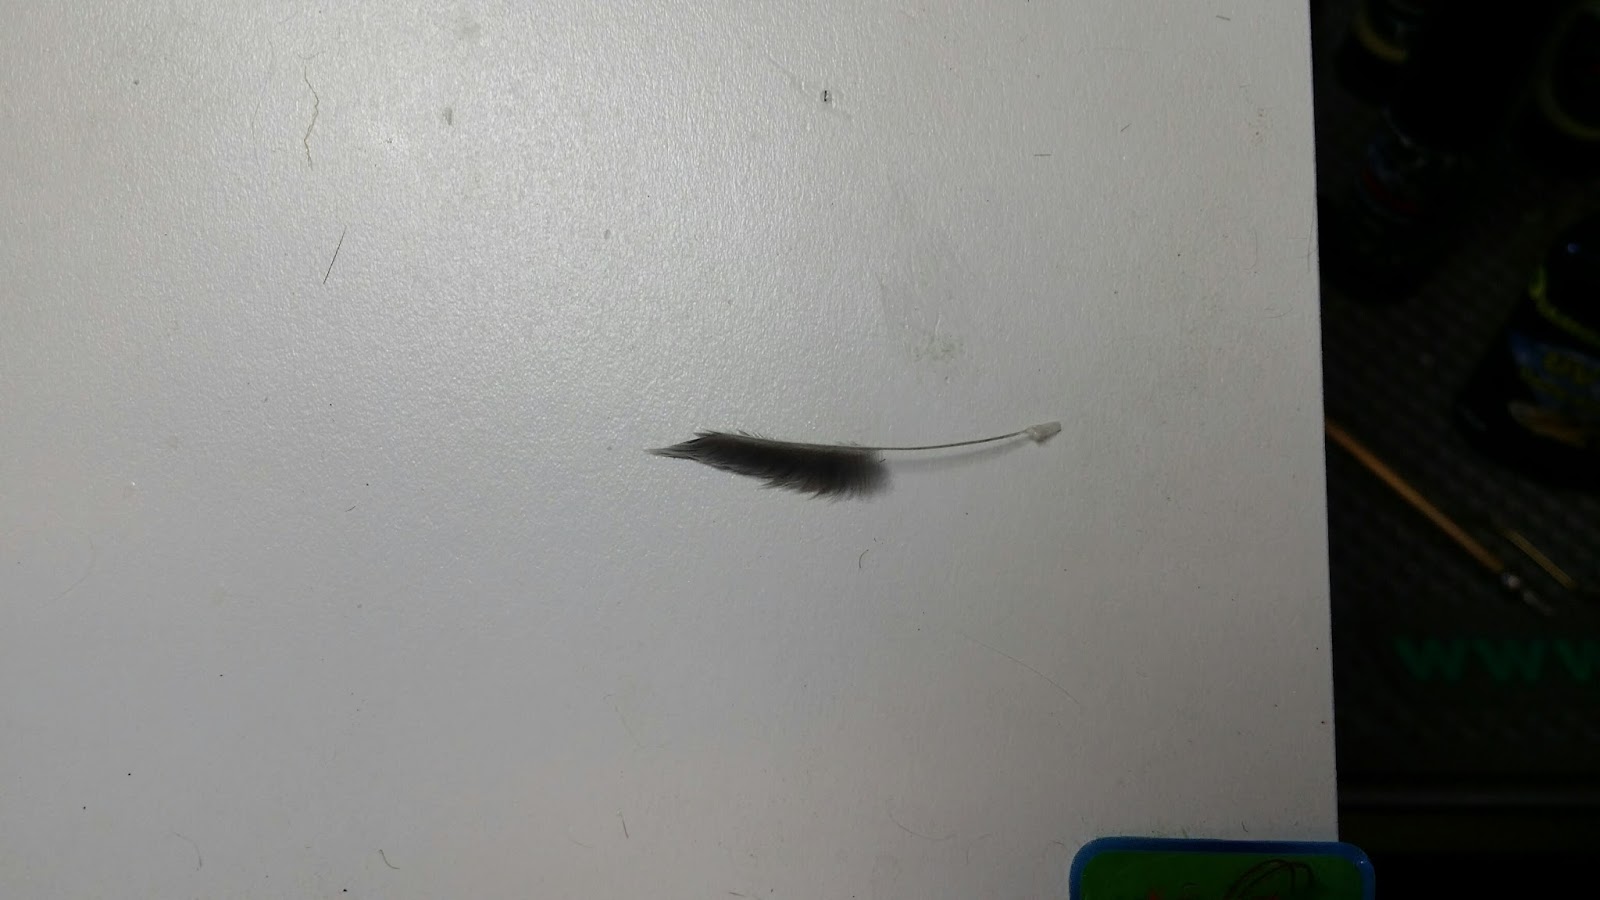 |
| Strip the other feather in the same way (this is the bottom gill section) |
 |
| Secure each gill section in place at the 1/3rd point using the Mono Thread |
 |
| Wind the 10" section of mono from the rear through the gills and all the way to the eye (use the segmentation the Nymph Skin created for the spacing). Tie off with the forward bobbin and whip finish. Remove it. |
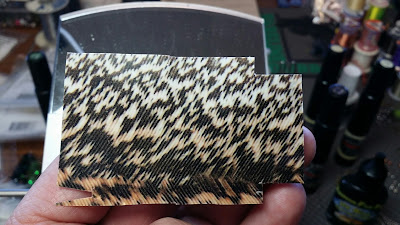 |
| Cut a strip (thinner than 1/8") of Spirit River Mottled Nymph Skin for the wing cases |
 |
| Cut one end to a point for easy tie in |
 |
| Secure the Mottled Nymph Skin in place at the 1/3rd point with the Mono Thread |
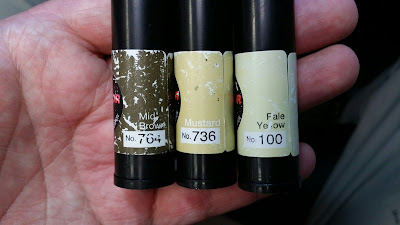 |
| Select dark brown, light brown and yellowish waterproof markers |
 |
| Mark the abdomen to your liking |
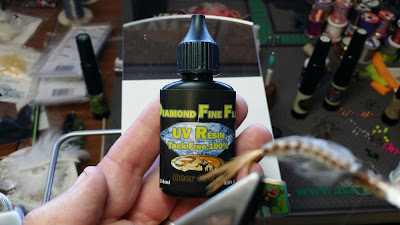 |
| Use Deer Creek UV Flex Resin to help seal the markings on the abdomen |
 |
| Cure the UV resin with the Deer Creek Torch |
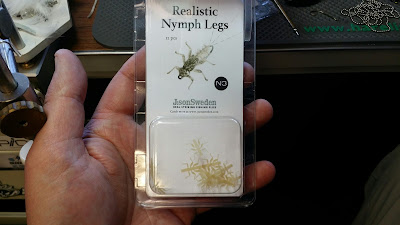 |
| Size medium J:son Realistic Nymph Legs |
 |
| Secure the 6 leg set in place (on your side of the hook) |
 |
| Lay the wing case forward and secure in place between the mid and forelegs |
 |
| Lay the wing case forward to behind the Evolution Bead to create the forward case |
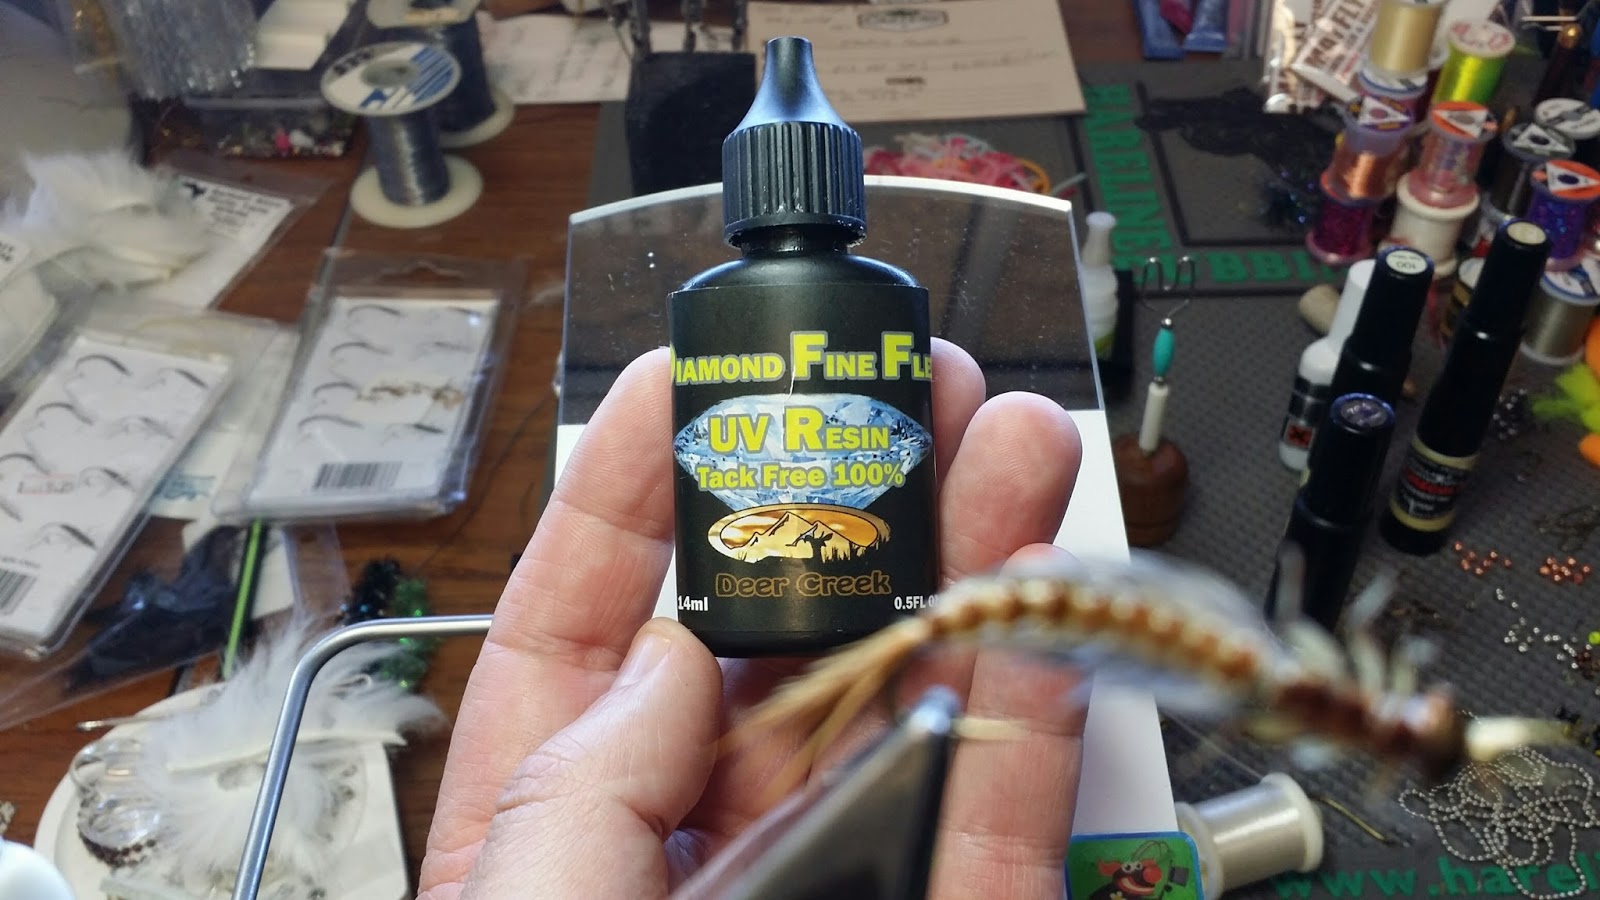 |
| Coat the wing cases with Deer Creek UV Flex Resin |
 |
| Cure the resin |
 |
| Coat the joints of each leg with the UV resin |
 |
| And also coat the underside of the legs and abdomen with the UV resin |
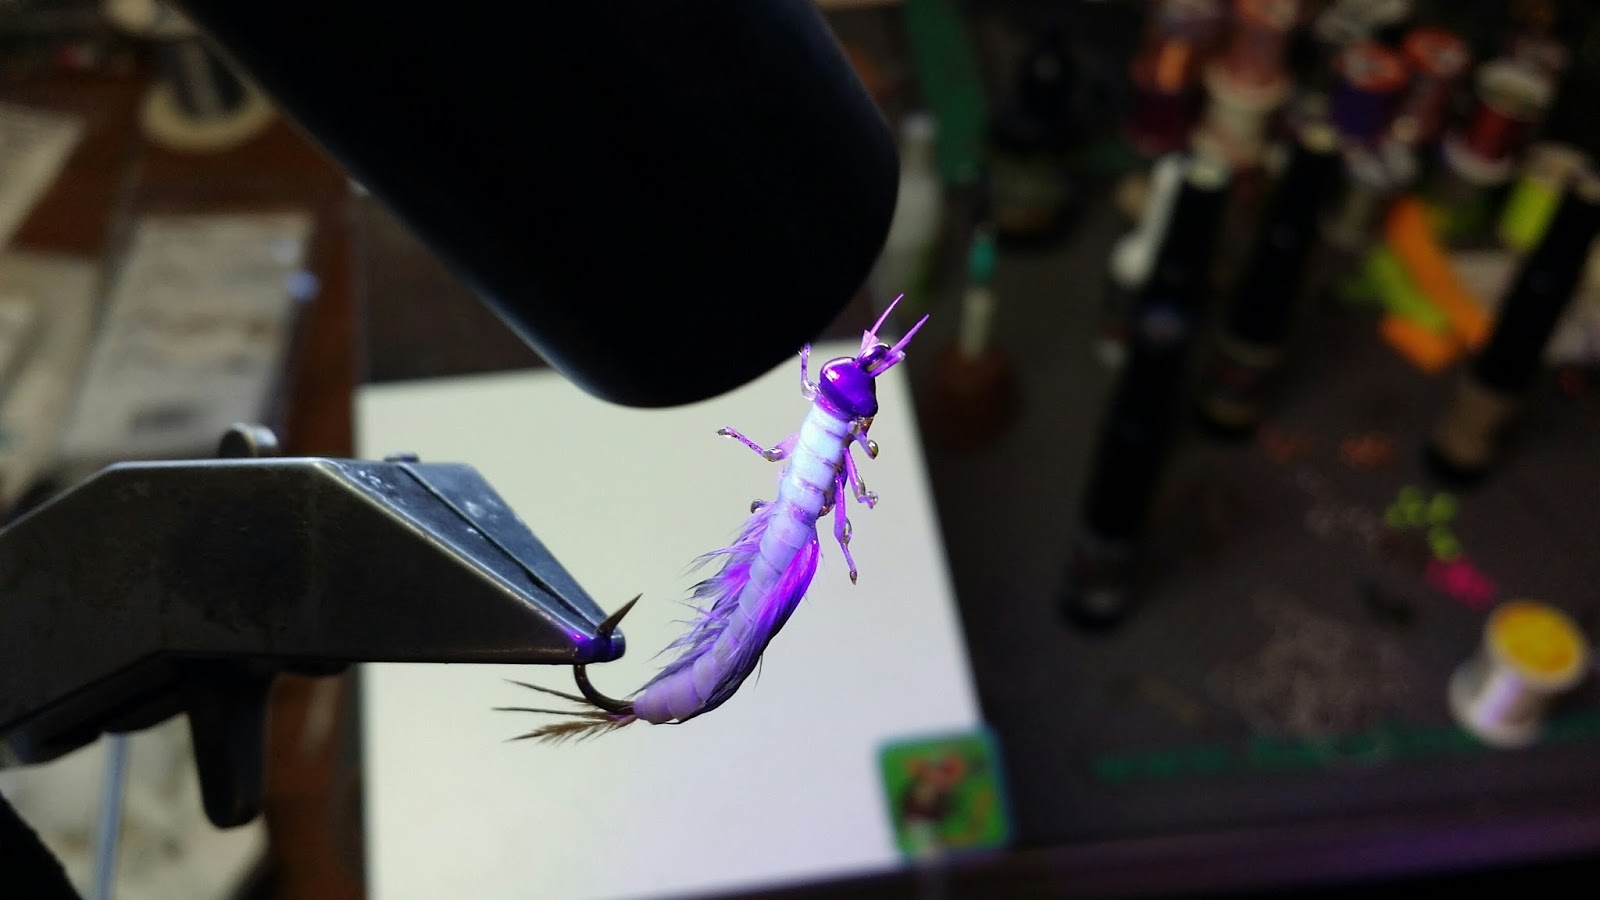 |
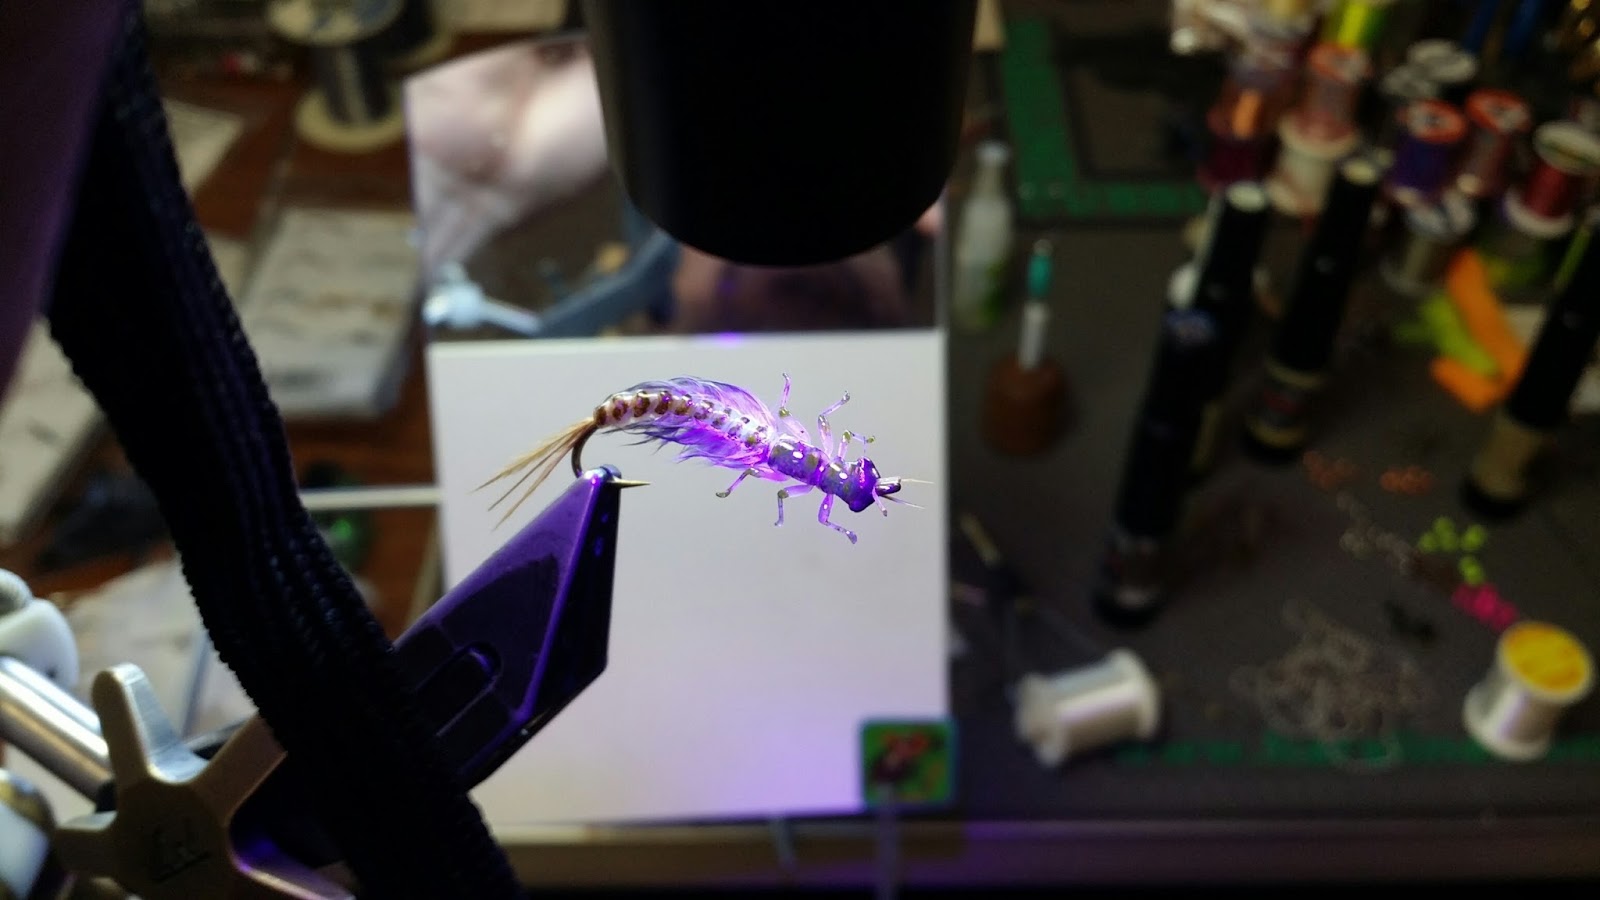
| Cure the UV resin on the legs and abdomen with the UV light |
 |
| VIOLA! |