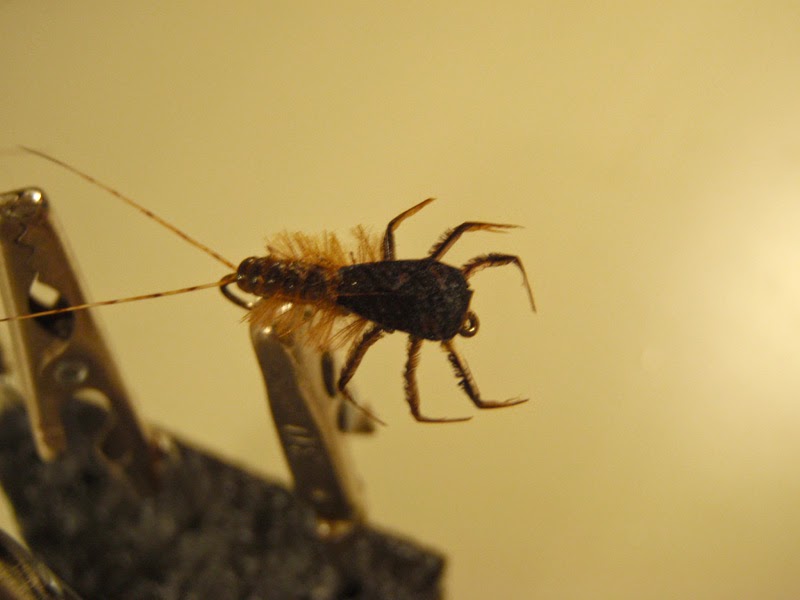
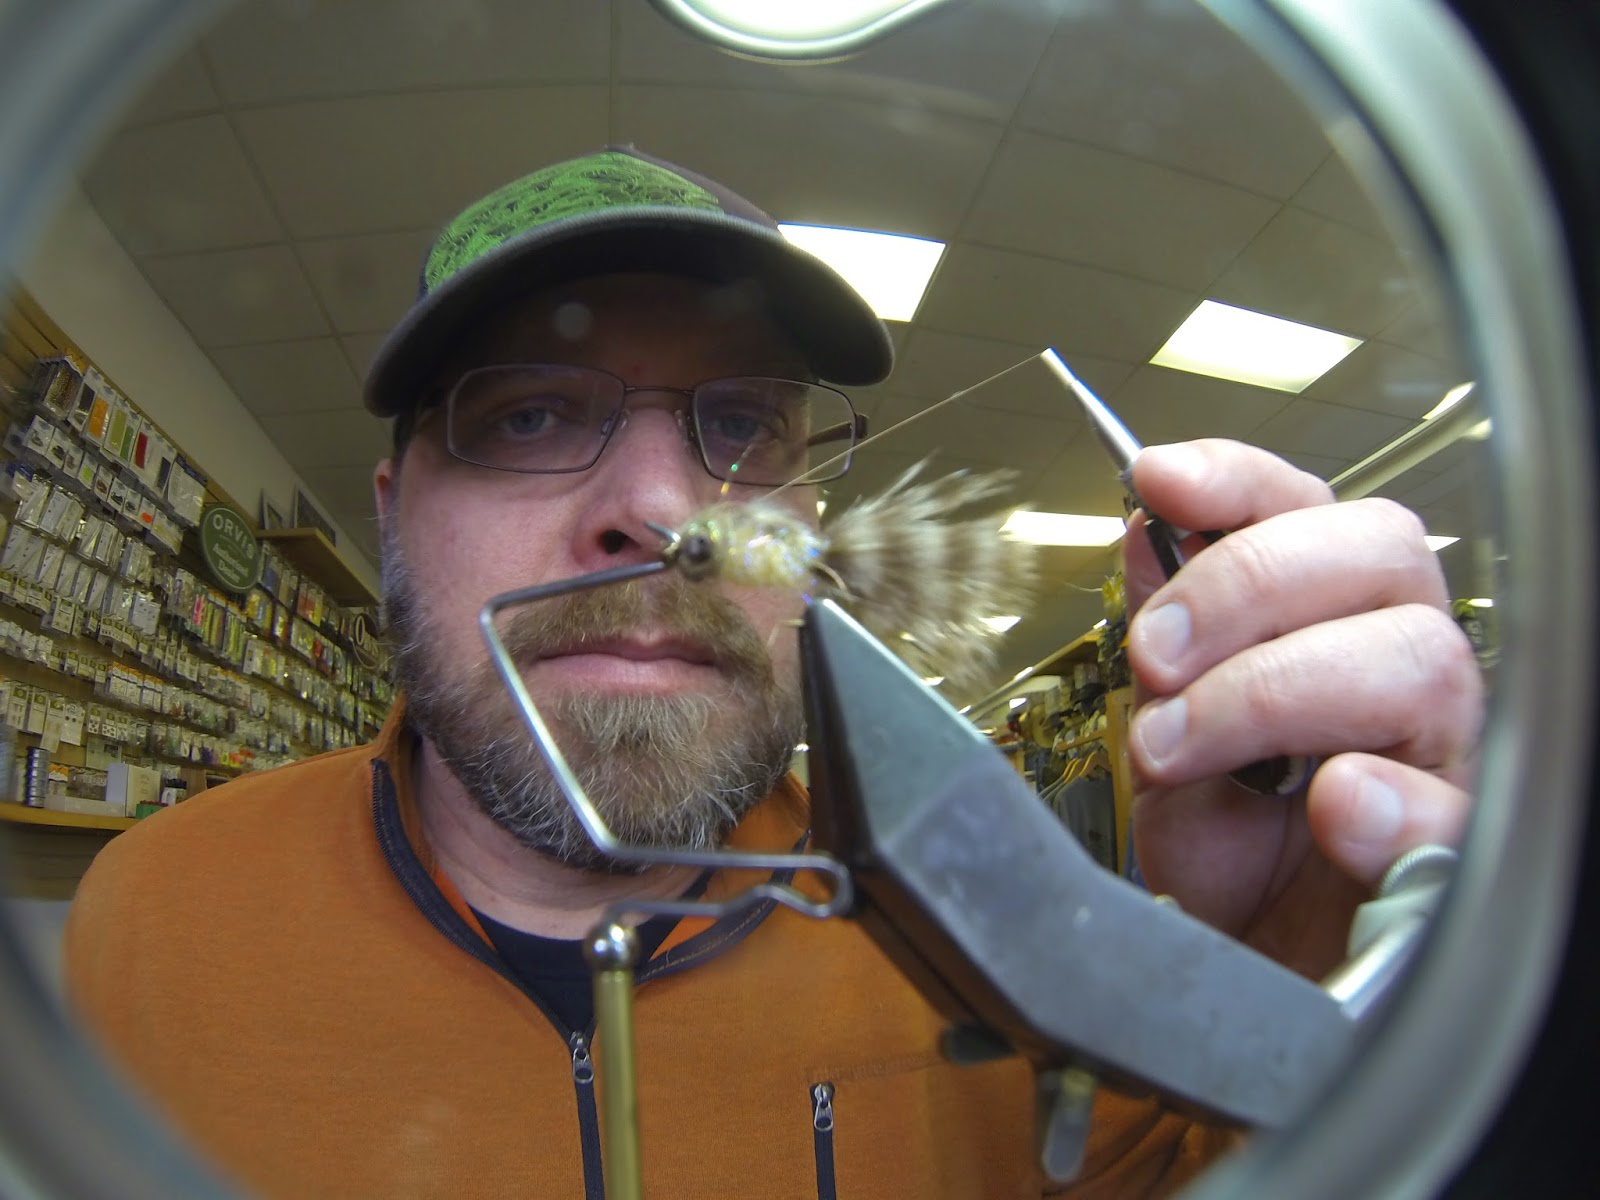
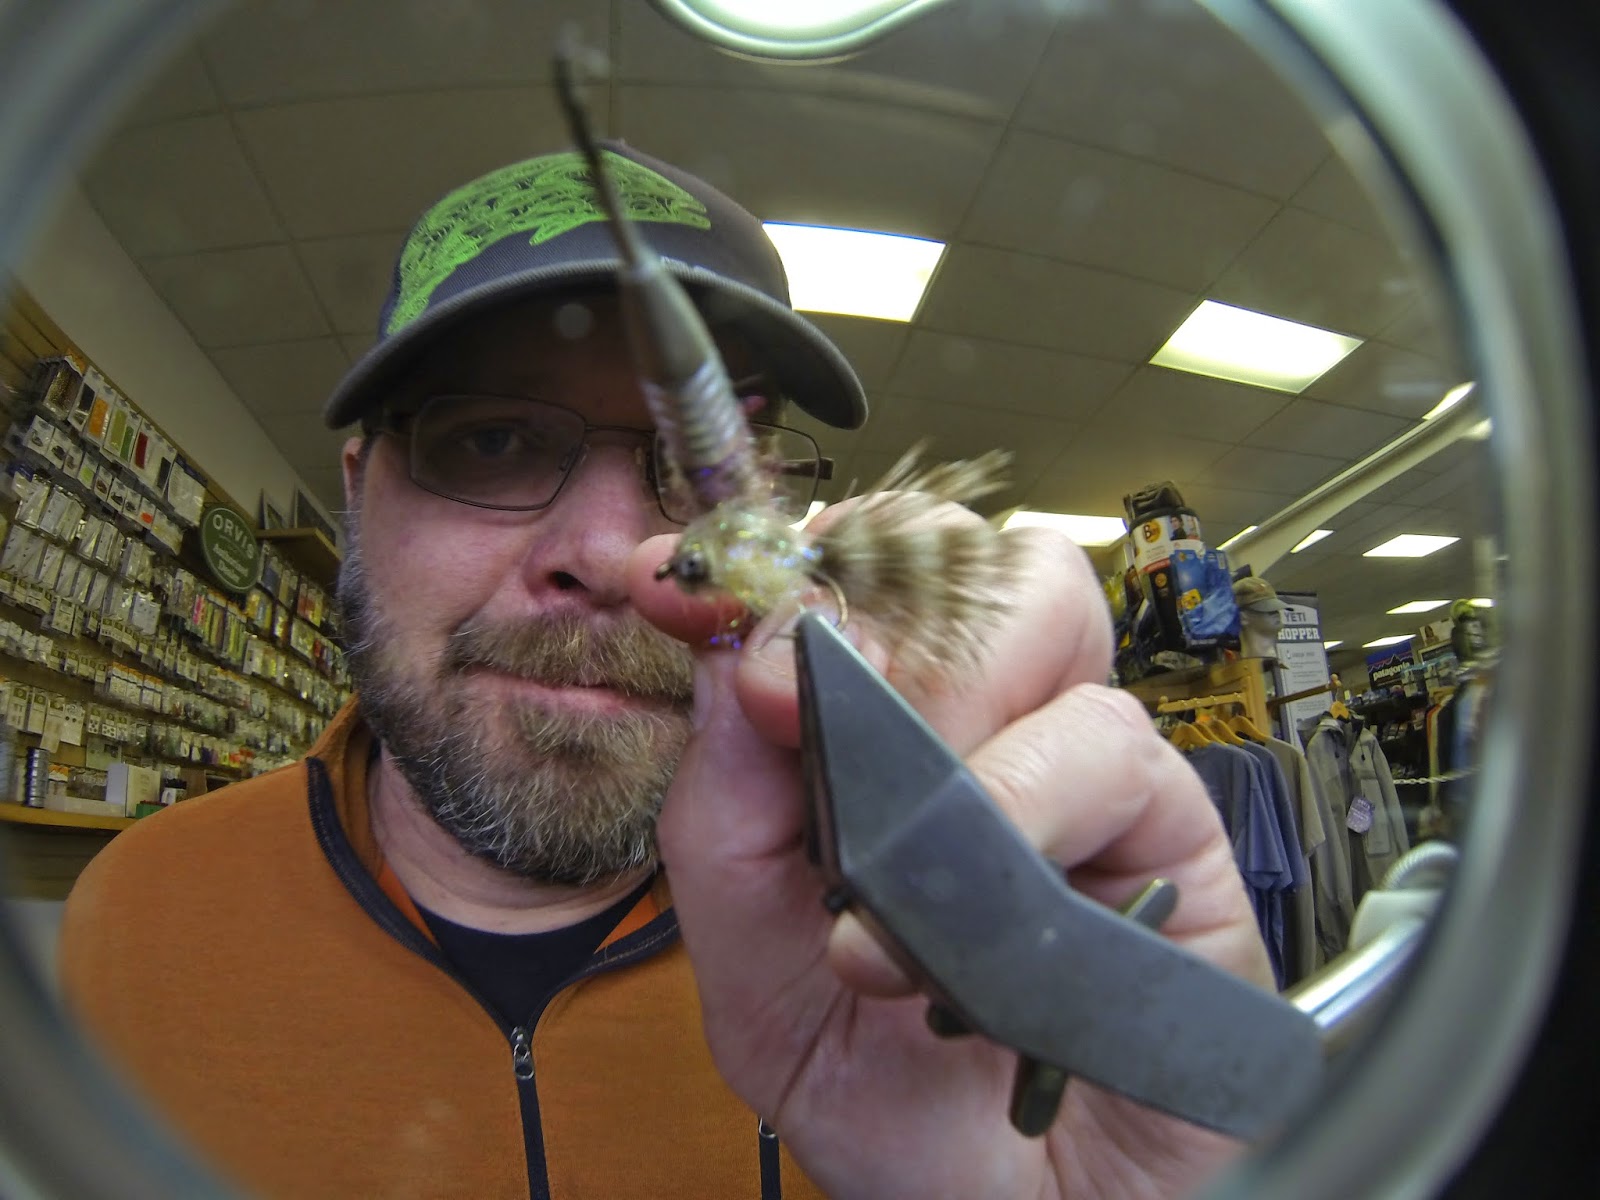
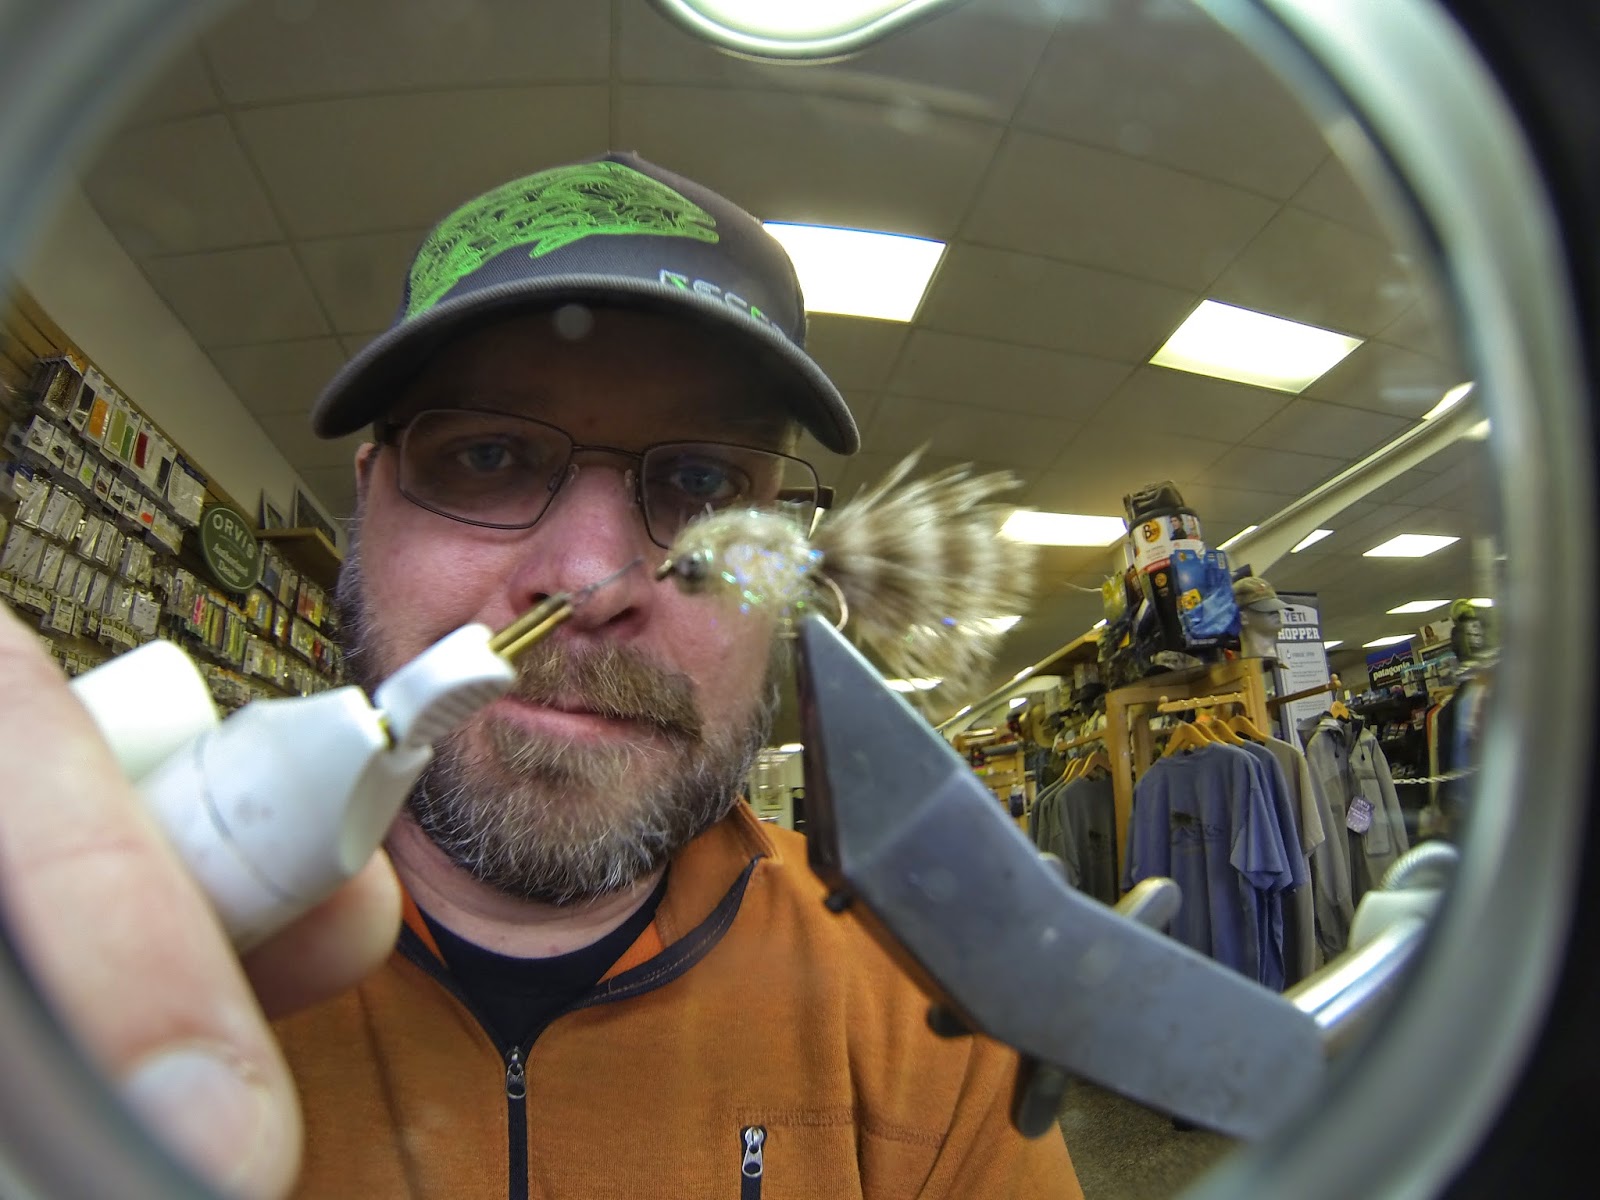
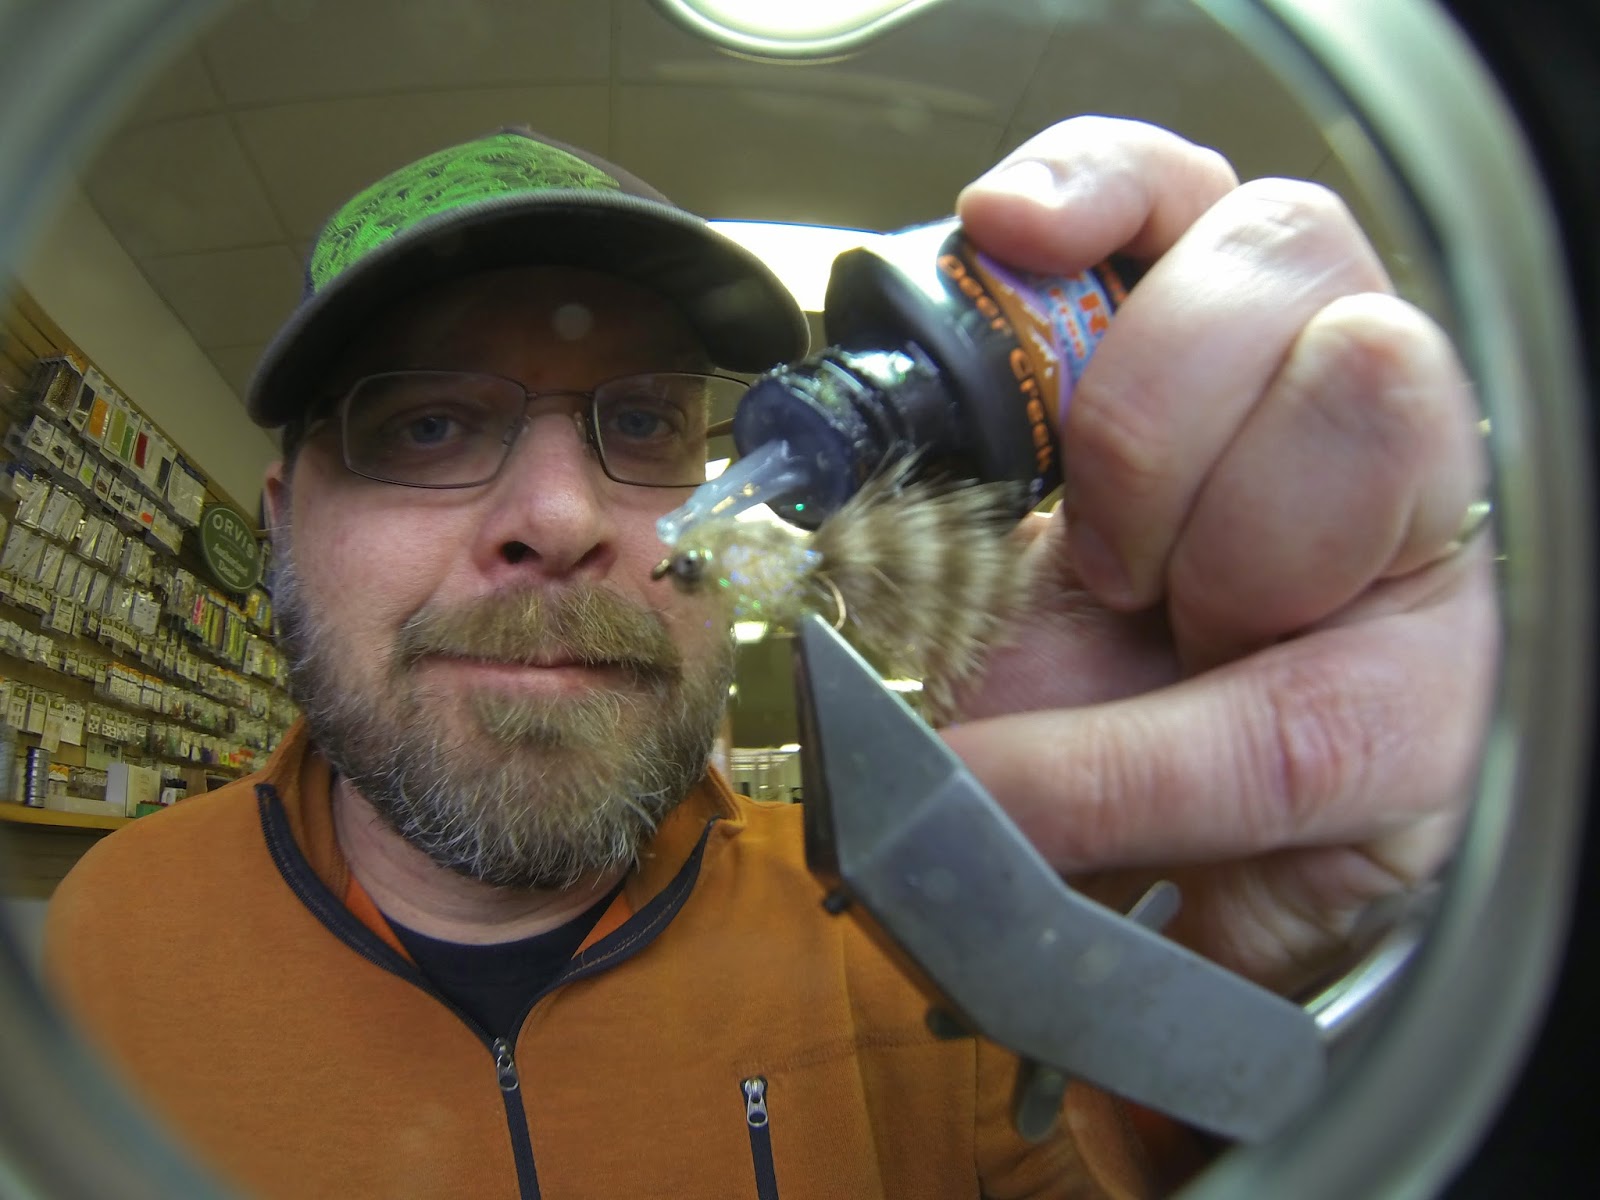
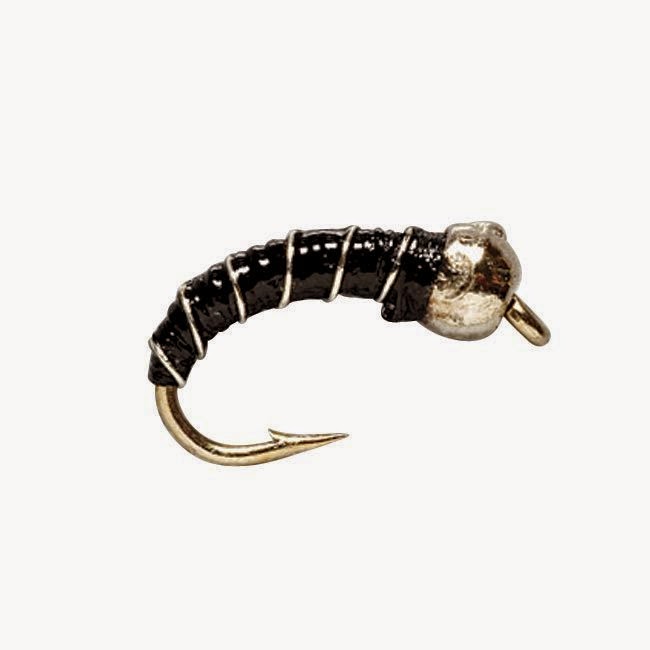
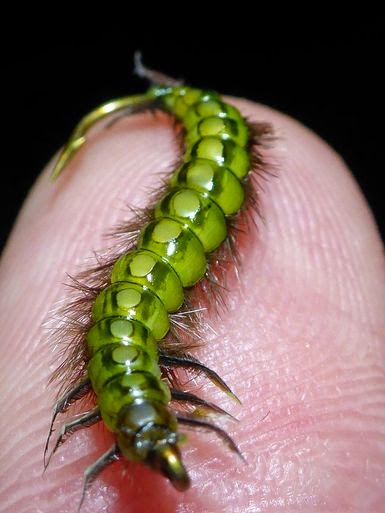
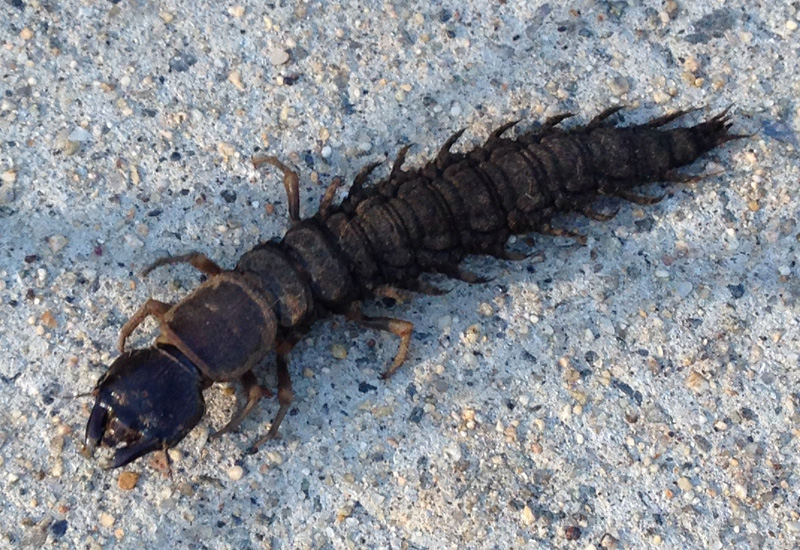
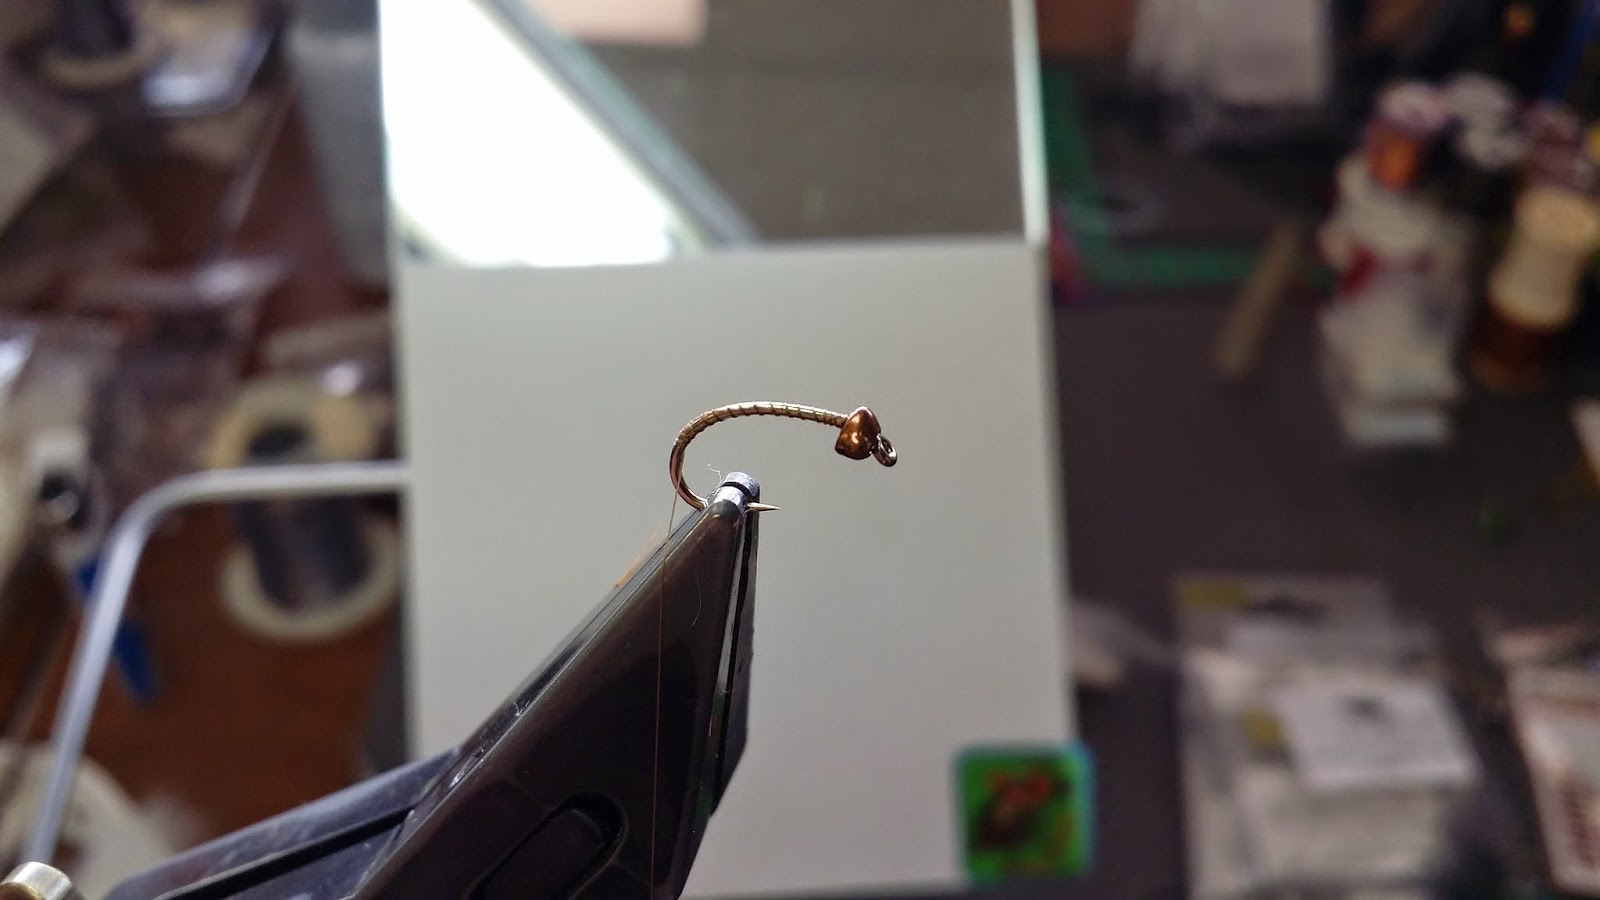
Photo courtesy of What's That Bug? That is one heck of a morsel for our fishy friends. TROUT AND SMALLMOUTH LOVE THEM. Sure we can use a woolly bugger to represent the larva but why not use a better representation. Super tyer, Pat Cohen, has given us a medium to create such a pattern. Cohen's Creatures is a collection of synthetic chamois cut-outs that represent a multitude of body parts from various critters like crawfish and frogs. Enough BS'ing. Here you go. 
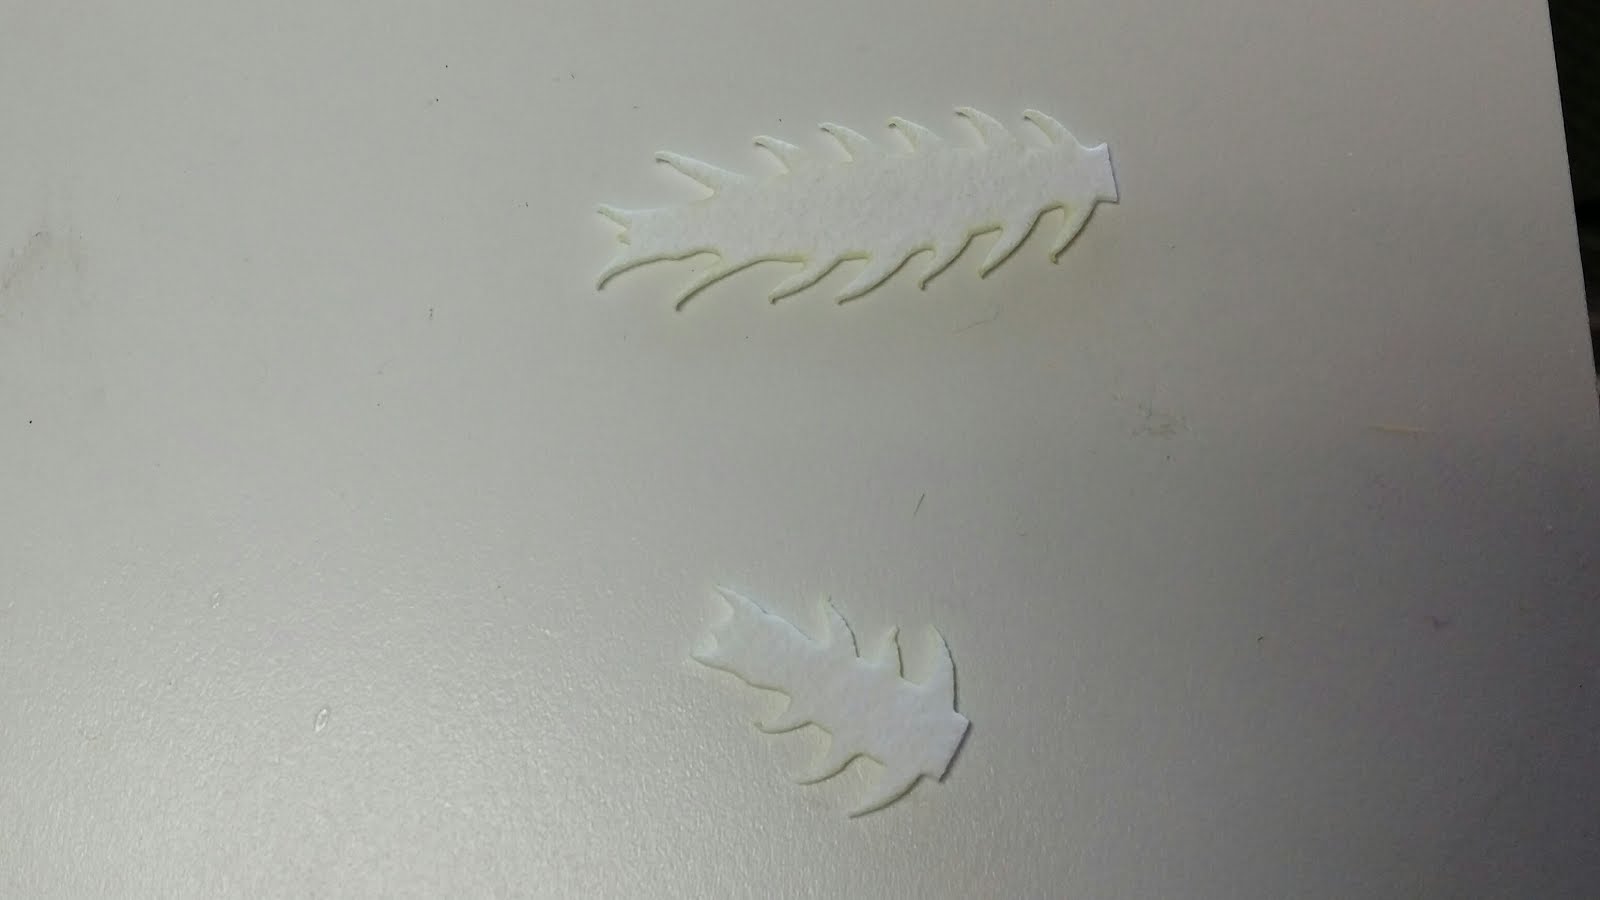
Cut the Cohen's Creature- Hellgrammite where the thorax and abdomen meet. Thread the abdominal portion of the Creature onto the hook. Apply a thread base from the eye to the bend of the hook. The colors vary dramatically but the brown olive L4FF Hare Blend is a good place to start. Create a dubbing ball. 
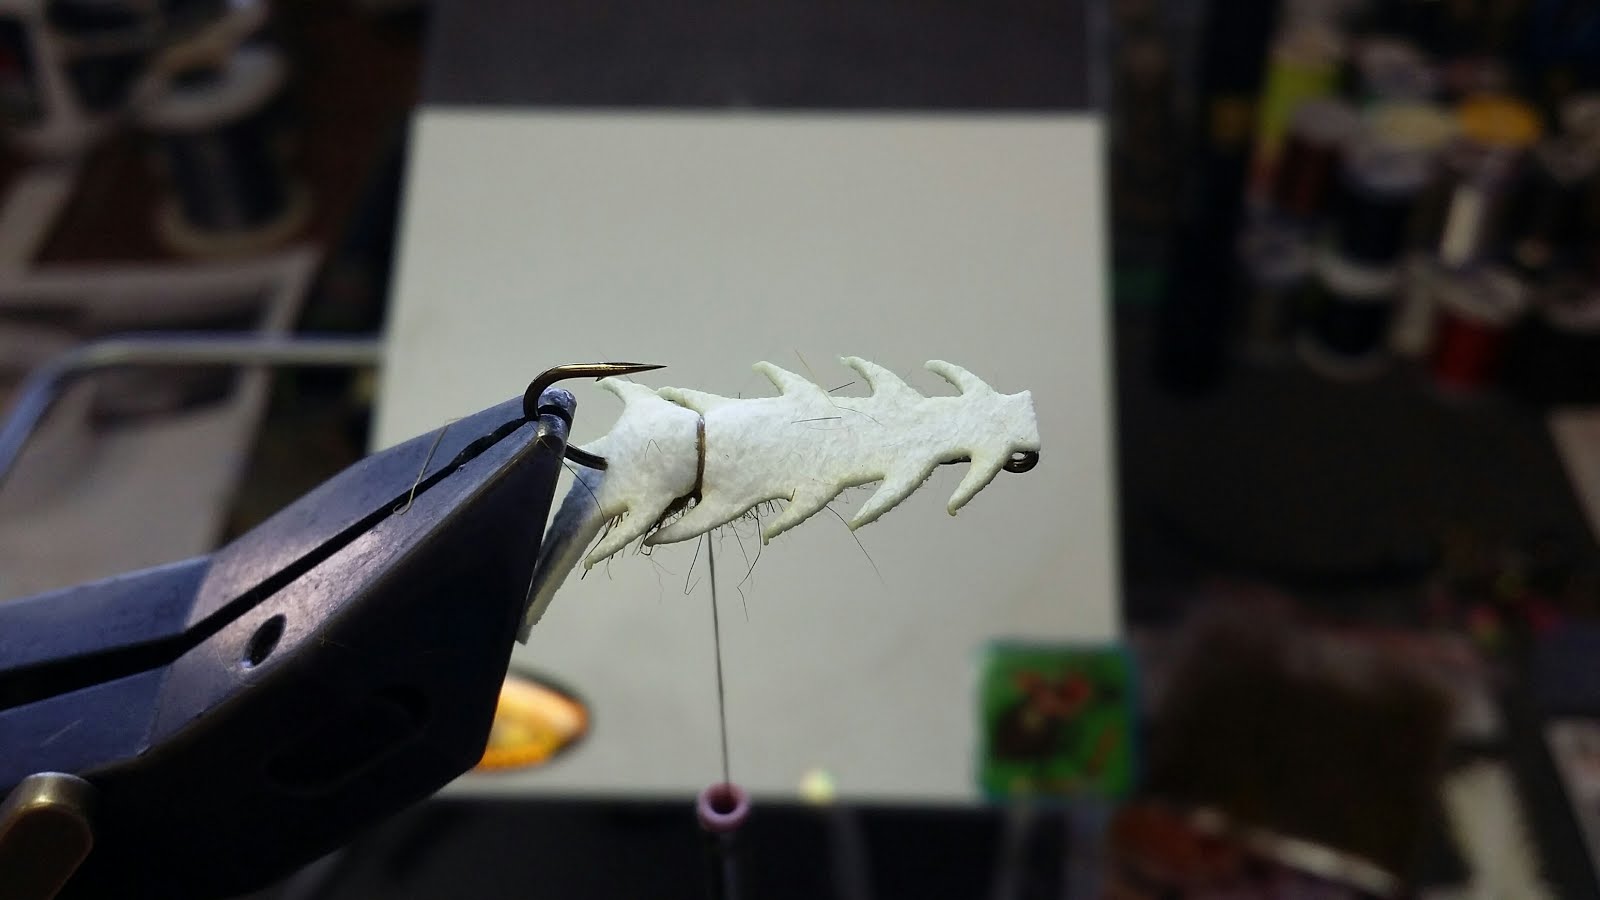
Apply several wraps of thread to secure the rear segment in place. Create another dubbing ball. Secure the next segment in place with several more thread wraps. Create another dubbing ball to create the next segment. Secure the next segment in place with a few wraps of thread. Create the last dubbing ball for the abdominal section. Secure the last segment in place with a few more wraps of thread. 
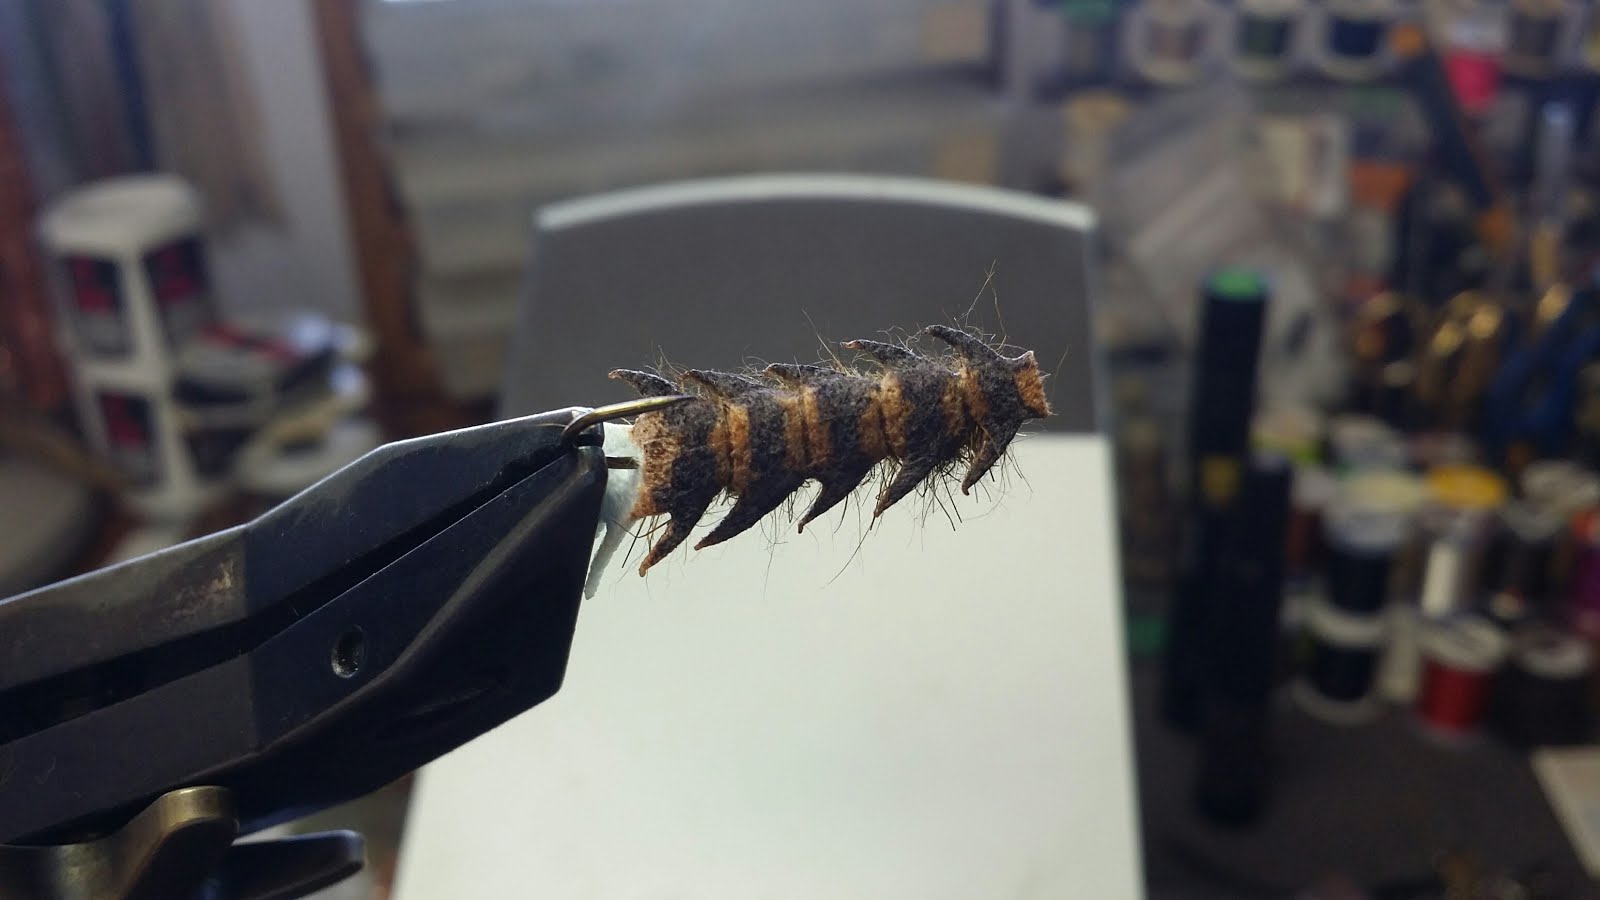
Mark the abdominal section to your liking. No need to explain. Apply one coat of the UV Resin on top of each segment. Add another coat of UV Resin to accentuate the segmentation. Wire for the junction between the back and front hook. Place the Evolution Bead and apply a thread base (never knew I was a rapper did you). Pass the wire through the eye of the rear hook and secure in place on the front hook. Secure a bit of lead wire on the bottom of the hook shank to ensure that the fly rides properly. More of the same L4FF Hare Blend to help create the thorax. 
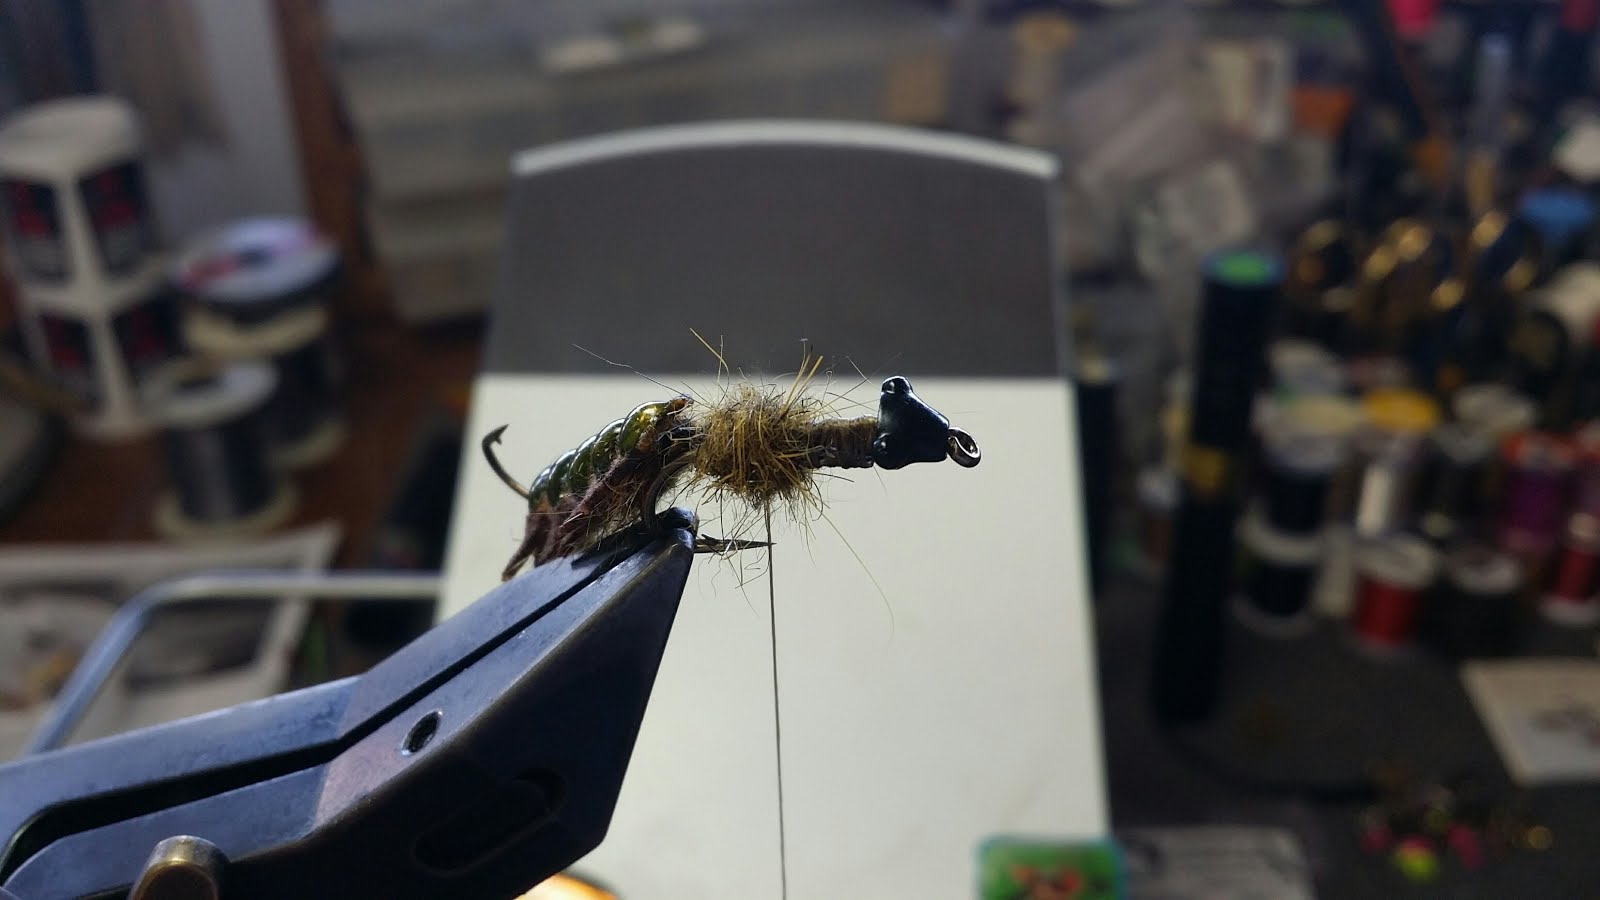
Start with another dubbing ball just in front of the bend of the hook. Secure the front section of the Helgi Creature with several wraps of thread. 
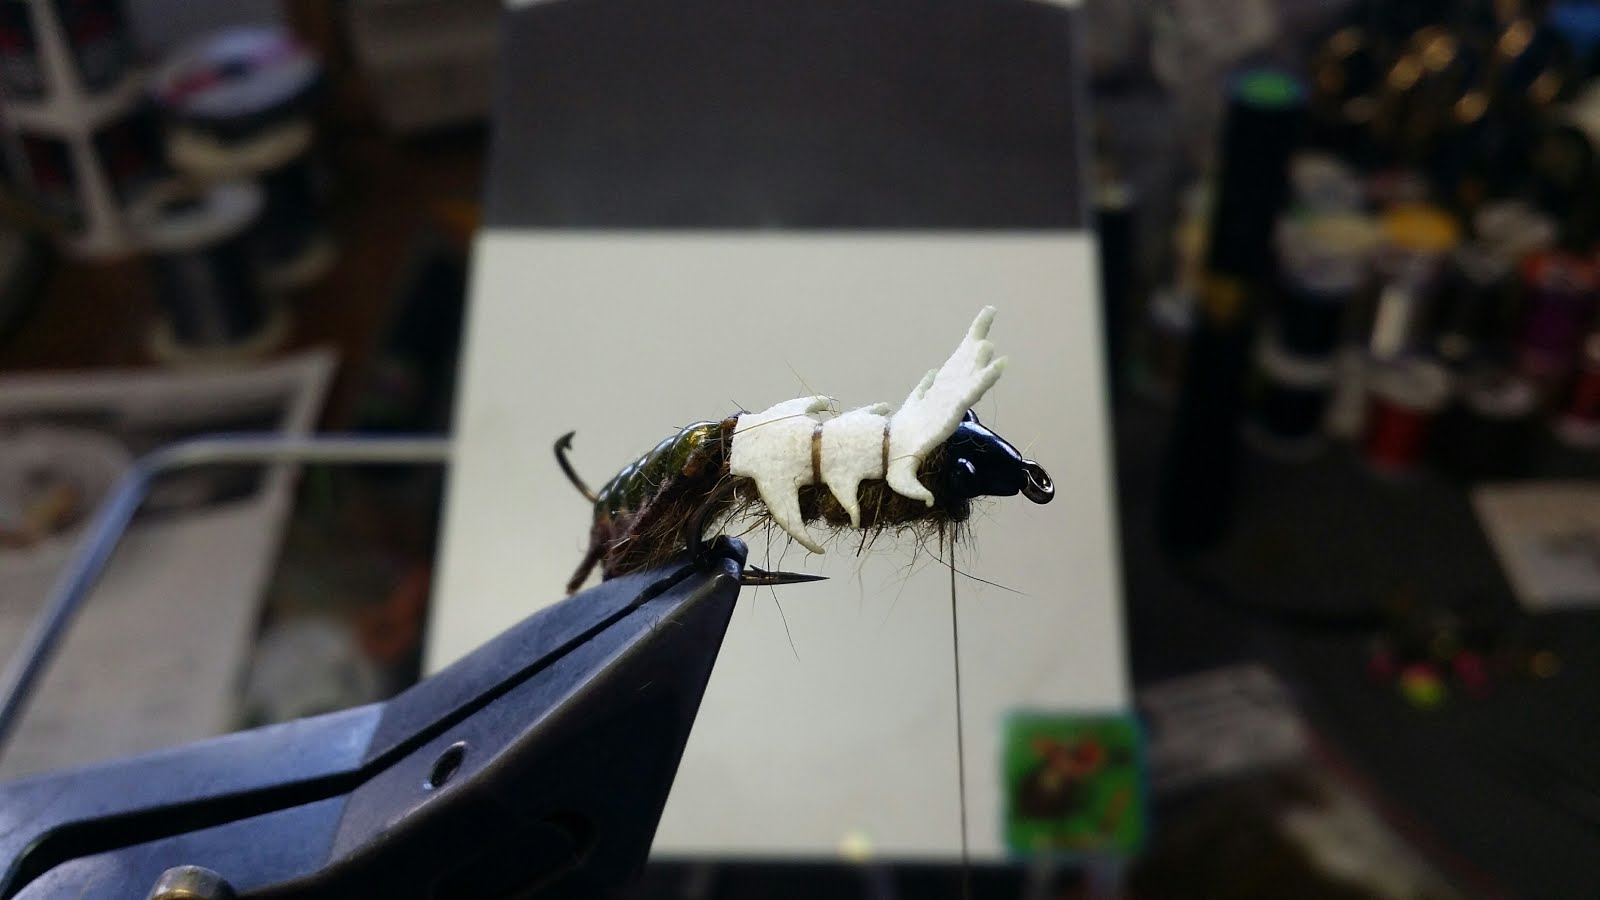
Im missing a photo but create another dubbing ball and secure the next segment in place. And again. Thank you sir may I have another. Lets get ready to mark. Superglue to the head to the bead. Repeat with the UV Resin and create the front 4 segments. VIOLA! |
Flymen Nymph Head Evolution Beadheads |
Size 12 Daiichi 1120 Scud Hook and Nymph Head Bead |
Secure 2 bobbins; one around the bend of the hook and 1 behind the bead |
Secure a strand of Trout Line Catgut the length of the hook |
Catgut secure |
Wind the Catgut forward and secure behind the Nymph Head |
Pick your dubbing of choice (I like SLF for this application) |
Create a fine dubbing cord and palmer it through the spaces in the segmentation |
Advance the dubbing cord to just behind the bead |
Choose your Hare'e Wiggle Dub (I like the golden brown) |
Pull out 3 strands of the fine rubber from the Hare'e Wiggle Dub |
Double the rubber around the thread and secure in place at the throat |
Create another dubbing cord with the Hare'e Dub and fill the space behind the bead |
Whip finish |
Complete! Just add water |
Dr. Joe w/ a gator. Look at that head. |
Bryan w/ a hog. |
Bryan w/ another. |
Yours truly w/ an arse whooper. |
Matt w/ a beaut. |
I know, I said 5 but couldn't pick so here's a 6th. Glenn looking stoic. |
Squirmito- the Original Squirmy Wormie |
Mopchu Picchu |
Gettin' Jiggy Wit' It. The number 1 big fish producer in any condition. |
Circa 1991. The Hetero-genius Nymph. |
Epeorus Stoneclinger Nympf. |
Squirmito Cluster. |
Mopchu doing work. |
A perfect hook for the biggest, strongest fish- Daiichi 1530 |
Create a thread base and end up at the bend of the hook |
Select 2 or 3 Grizzly Marabou feathers for the tail and back |
Secure the Grizzly Marabou Feathers in place at the bend with tight pinch wraps |
Secured in place and make a funny face |
Ice Dub (UV lt. yellow is a favorite) rules for certain applications and nymphs are one of these |
Create an Ice Dub thread cord |
OOPS! Forgot to tie in Bead Chain Eyes |
Advance your dubbing cord to behind the eyes |
Lay down the butt ends of the Grizzly Marabou to behind the Bead Chain Eyes |
Mix a clump of Hare'e Ice Dub (golden brown) and Krystal Dub (hare's ear) |
Create dubbing cord and wrap behind, criss-cross between and in front of the eyes |
Whip finish |
Brush out head and underbody with a dubing brush or pick |
Clean around the eye with one of the coolest fly tying tools around, the Cautery |
Coat the head with Deer Creek UV Resin (its actually tack free) |
Cure the Deer Creek UV Resin with the Deer Creek Pro Torch |
Complete! |
Hise's Hetero-genius Nymph has proven to be productive since 1991 and it covers the attractor/imitator realm (sz. 14-18) |
Edward's Little Winter Black Stonefly covers the smaller late winter/early spring stonefly nymphs realm (sz. 12-18) |
BH Hare's Ear is a great imitation of the lighter bodied spring insects that are soon to come; hendrickson's, March browns, caddis and crane flies (sz. 8-16) |
Squirmito- the Original Squirmy Wormie is a great imitation of the Tubifex tubifex worms that are found in the silty waterways of the southeast |
Quasimoto Pheasant Tail covers the multitude of baetis and darker bodied mayflies that are so prevalent in the spring (sz. 12-18) |
Tunghead Zebra Midge works all year but is particularly productive in the winter and spring when the midge s are so prevalent (sz. 20-24) |
Y2K Egg Fly is productive throughout the year because plain and simple we like eggs and trout like eggs (sz. 12-14) |
Camden's Baetis is a great little pattern that covers the realm of tiny baetis, midge larva and even little winter stones (sz. 18-20) |
Hise's Ooey Gooey Grub is a great pattern for imitating caddis larva, bee larva, wasp larva and cranefly larva (sz. 8-14) |
Gettin' Jiggy Wit' It catches a lot of big fish in any water condition |
Create a thread base on a 4XLong Straight Eye Hook, like a Daiichi 1750 |
Moose Body |
Secure a small clump at the rear of the hook (I think thats a reflection on my nose :-) |
Secure a Whiting Farms Saddle Feather |
Grab a clump of Deer Body |
Use a Hair Stacker to even out a clump of Deer Body |
Pinch clump to prepare for tie in |
Pinch wrap the clump in place at the bend of the hook |
Palmer the thread forward through the Deer Body to create a segmented body |
Clip the fibers at the eye and make a funny face |
Palmer the Saddle Hackle forward within each segmentation, tie off and add a small drop of Deer Creek UV Resin |
Cure the Deer Creek UV Resin with the Deer Creek Pro Torch |
Prepare the junction with Mono (remember, at some point we're cutting the hook point off of the rear hook) |
Insert the forward hook into the vise jaws (straight eye style) |
Create a thread base on the front hook |
Pass a length of Monofilament through the eye of the rear hook, double it over and secure it along the shank of the front hook |
Tie in a clump of Prime CDC Feathers (a combination of 4 to 5 black and natural dun) |
Add another clump of CDC to the opposite side (a combination of 4 to 5 black and natural dun) |
Advance the thread to the rear of the front hook; select a Whiting Neck Hackle Feather |
Secure the Whiting Neck Hackle in place at the bend; grab a patch of Deer Belly Hair |
Select a clump from the patch of Deer Body Hair and use the hair evener to even the clump |
Secure the Deer Belly clump in place at the rear of the front hook, leaving the tips as a small tail that overlies the hook junction |
Create a dubbing thread cord with Superfine Dry Dubbing and wind it behind, around and in front of the CDC wings |
Palmer the Whiting Farms Neck Hackle and secure behind the eye; trim away the top fibers before laying the Deer Body clump over the top and to the eye; keep the bobbin near the eye of the hook |
Lay the Deer Belly clump forward and secure it on top the hook to the aft of the hook eye, whip finish, then trim away the excess |
Apply a small glob of Deer Creek UV Resin and cure it to lock everything in place at the eye |
Complete |
IPA Time |
Daiichi 2557 Intruder Style Stinger Hook |
D2557 to Flymen Articulated Fish Spine |
Secure Enrico Puglisi Sparkle Brush (holographic silver) section for tail section |
Wind and secure at the front and pick out fibers |
Hit thread head with Deer Creek Diamond Fine |
Cure UV Resin w/ Deer Creek Pro Torch |
Chain gang second articulation w/ Flymen Fish Spine |
Secure a 1.5" EP Foxy Brush in place |
EP Foxy Brush is in place |
Wind EP Foxy Brush forward, tie off at the eye and secure with DC UV Resin |
Cure Deer Creek UV Resin w/ Deer Creek Pro Torch |
Chain gang the third articulation w/ a Flymen Fish Spine |
Secure a Saddle Hackle feather in place at the rear of shank |
Secure another EP Foxy Brush section in place |
Wind to the eye and pick fibers out to clean things up |
Hit thread head w/ Deer Creek UV Resin |
Cure w/ DC UV Pro Torch |
Chain gang the fourth articulation with Flymen Fish Spines |
Build a thread base |
Tie in another Saddle Hackle feather at the rear of the 4th articulation |
Secure a strand of a 3" EP Foxy Brush in place |
Wind 3" EP Foxy Brush to eye and secure in place |
Hit thread head w/ Deer Creek Diamond UV Resin |
Cure w/ Deer Creek Pro Torch |
Front hook is a Gamakatsu SC15 (or similar) |
Run Senyo's Intruder Wire thru the eye of the front articulation |
Create a loop in the wire and secure in place on front hook |
Secure another 3" EP Foxy Brush strand at the rear of the hook |
Wind 2/3rds of the way forward and secure in place |
Check out my new lid |
Secure another holographic silver EP Sparkle Brush strand in place |
Wind to behind the hook eye leaving room for a thread head |
Sexy |
Whip finish |
Super Glue a Deer Creek eye on each side |
Build a nice UV Resin head w/ the only tack free UV Resin, Deer Creek |
Cure UV Resin |
Cheers! |
Chironomid- Bozeman Fly Goods Bug Collars |
Hedrons Pink Bastard- Big Fly Fiber Blend |
Hise's Bugs Bunny- EP Foxy Brushes 1.5" & 3" |
Ricky Bassetts Reel Wing Quill Body Dun |
Markus Hoffmans Quill Bodied Mosquito |
Markus Hoffmans Ryacophilia Caddis Larva |
Trout Line Cul de Canard |